Showing posts with label Edwardian. Show all posts

Photo Friday

This week's photo is a two-fer for a couple of reasons.

1) I enjoy pretty photos
2) I enjoy pretty music

This post is about an Italian woman named Lina Cavalieri (1874-1944). She was a very famous
operatic soprano who died in 1944 during a bombing raid on her home in Italy. Apart from being a famous soprano, she also worked in early films, made a few recordings and was considered by some to be "The World's Most Beautiful Woman".


Her gown is stunning, too

Here is a recording of Cavalieri in 1910, singing "L'Altra Notte" along with a few other images of interest. Enjoy!


A portrait of Lina painted by
Giovanni Boldini in 1901

Welcome, Ms White.

Hello all! I'm back after a long hiatus. I'm not dead, if any of you were wondering. A little has changed since I last posted, I finally got a job! Not an awesome job costuming for some company or organization, but a waitressing job. I'm working 5 days a week, so that plus school, plus everything else has been keeping me busy. But, I am sure glad I got that job.

Because with my first paycheck I bought:
My newest toy

....A Treadle Machine! This particular model is from 1890...edit! After further research I have found that it is actually from 1912. Patented last in 1890. and is the White brand from Cleveland, Ohio.
Gorgeous.
  The colors on the machine are superb and has very little rust or discoloration.

See the bright green silk???
 I also found while rummaging through the 6 drawers on the original cabinet, 5 extra bobbins and 4 extra needles. Though, the needles are mostly rusted, it's still amazing that it's all together. The bobbins also have silk tread on them. I have no idea when it was last used.

The pedal is deceptively responsive
 Here's the underside, again showing off the brand name.

The tin itself was just cool.
And the coolest part... Another goodie I found inside the drawers of the cabinet... a tin box with:

11 attachments! For what? I have no clue.
 A ton of attachments! And the original packer's slip!


Also, the hardest part to find for this model is the bobbin shuttle. I found 2 inside the tin.

They're weird and evil looking.
 ....and one in the machine itself! with a bobbin inside as well!


 I'm so excited to clean it up and get it working. I need to purchase a new belt, but other than that it seems to work exactly how it's supposed to.


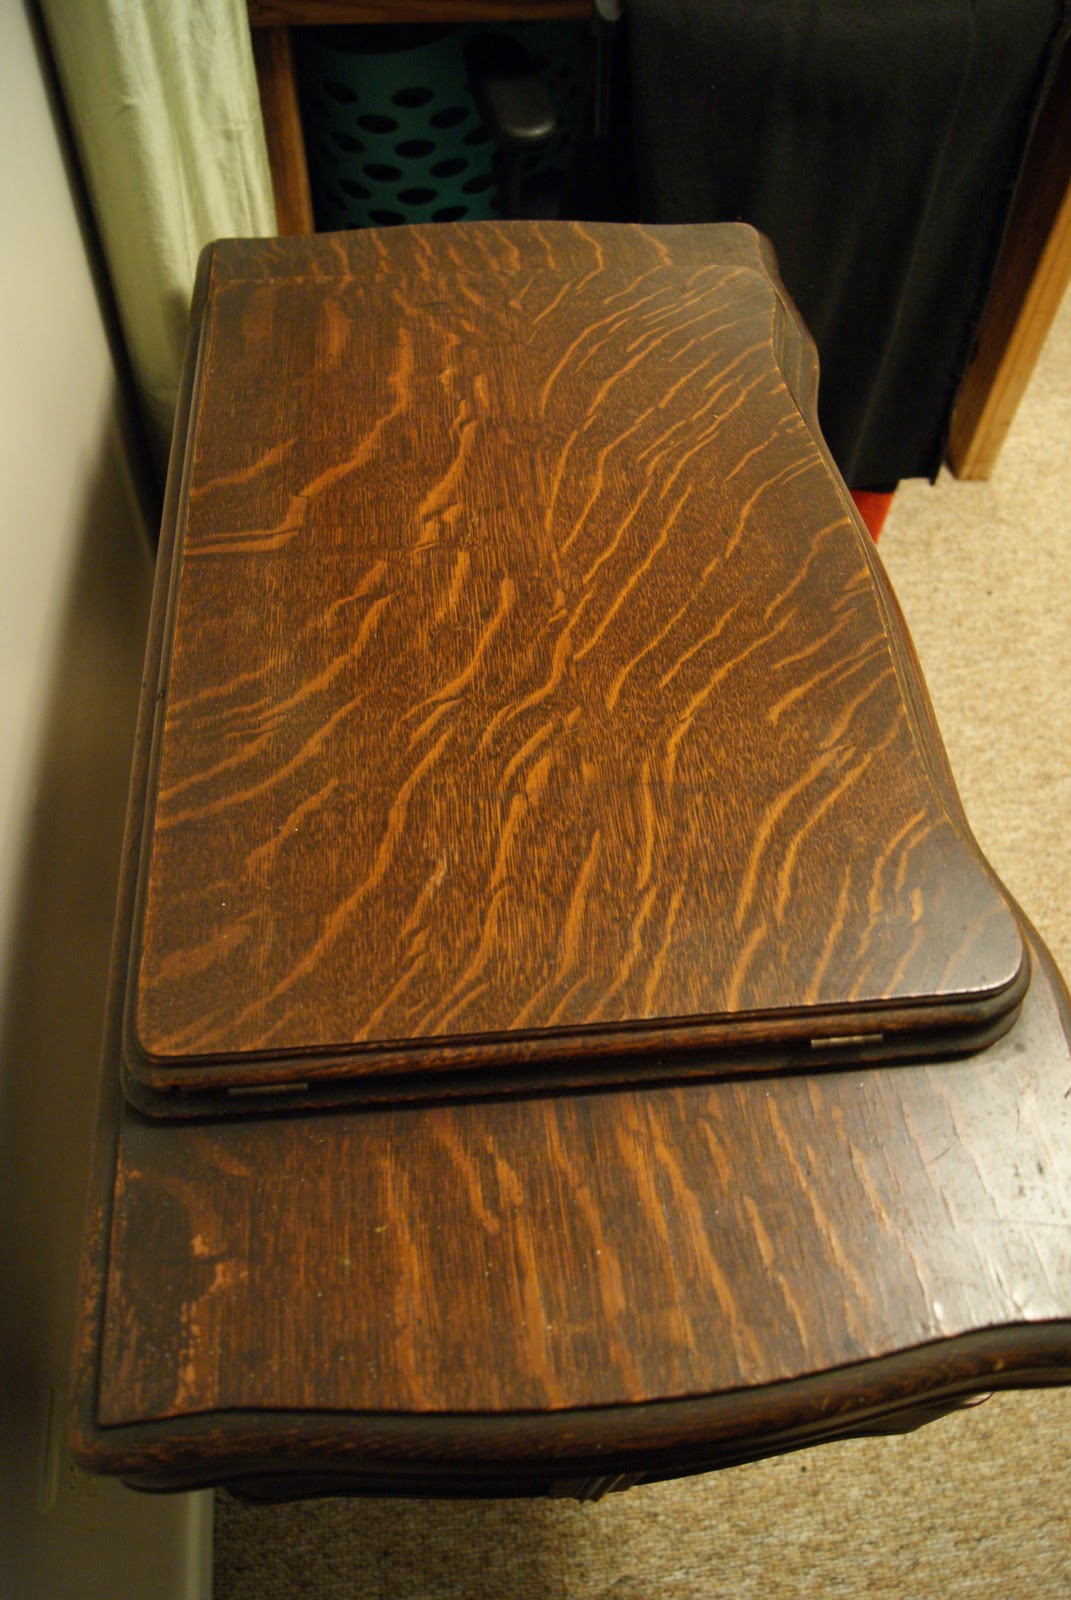
 I bought this lovely piece from an antique dealer here in Athens. He had bought it 30 years ago and had it as furniture in his own home. He told me that when he moved 10 years ago, he put it in his shop to sell. Unfortunately, or more fortunately for me, it ended up being put to the back of his shop and got buried underneath things. I came in a month ago, just wondering if he had any sewing machines and he pointed me to this one.... I fell in love. Just look at the tiger-stripes!


 He then told me he just needed to get it out of his shop and would part with it for $100. It was mine.


Carrying it up my two flights of steps was certainly an adventure. My mom and I aren't built for such things. She now lives in my apartment, almost ready for use.


I'm so excited about getting going. I don't know much about the machines, other than what they go for. If any of you have tips on using them, PLEASE let me know. Any help is welcome!

Ophelia Bodice: finished

 Hooray! The time has come to show you the finished pictures of the Ophelia Bodice! After 2.5 weeks of working on lots of beading and tucking the finished product was sent to Santa Fe on Friday to be graded. And here are the pictures from an impromptu photo shoot right before it was sent away. My mom was the photographer and did a fabulous job :)


This pose was mom's idea.
I'm pretty happy that it looks almost identical
to my concept drawing


I thought she was only taking a pic of the bodice, not of
my face with it
 My mom thought it a good idea to take the other curtain and wrap it around as a skirt, so the pictures would look a little better. It did help the photos, but you can still see the creases!

I've got a bit o' giraffe neck goin' on.

I was trying to pose as my drawing, but closed my
eyes at the wrong time :(
 The following pictures are not the correct color, but thought they were fun and should be included in my post XD

Cheese!

I think I saw a fox in the field, which is why I'm squinting...

Close up!!!!


I can't wait to get it back and start the skirt portion! But I need some undergarments first....hmmmm

The Queen of Tucks

I think it should be my new nickname because I have sewn over 350 tucks for the trim of the bodice. That's. A. Lot. Of. Tucks.

Just some of the tucks...
The tucked trim had to be done in 6 pieces to get the length and contour correct. And it took a very long time to do them all. Looking back, I should have done a large rectangle then cut it down into the strips needed, but I did it the other way around; cut a bunch of strips THEN did the tucking. Well, now I know what not to do. Despite the intense labor, after they were pressed and all put together, they look kinda fabulous--I'm not gonna lie.

Aren't they perfect?
Now the scary part... application...There were a couple ideas thrown around on how to apply them. I couldn't think of any other fullproof plan than to simply top stitched them to the bodice. It was nerve-wracking, I'll tell ya, to sew all those tucks to the bodice. The whole time I was consumed by a fear that something utterly terrible would happen.

Pinned and ready to go...
After being stitched.
But it didn't! After all was said and done they look pretty spectacular (I was fully expecting them to look very terrible) I was also nervous that having the tucks the same fabric as the main part of the bodice would be a bad idea, but I think the texture is all it needed. The last pic is taken in natural light, so it's the closest to the real color as you can get. and you can see the texture really well. I'm really excited for the next post. You'll be able to see it finished!

Project: Progress

The project is done, but you all will just have to wait to see it. For now, I'm gonna give you little snippets of it so I can make my posts more detailed!

And now back to the project: After a little bit of tweaking, I got the modesty panel to be just right... I had a really hard time getting the pretend chiffon to work properly... or how I wanted. I had to manually pin each gather where they were supposed to be, instead of the usual, gathering-thread-then-sew method. It was kind of a pain, but I managed.

It is lined with the same hospital sheets I used for my Regency petticoat. It was finished with a chiffon edge.


Panel, not yet attached.
In attempts to make sure the panel was the right shape and fit, I got a little creative.

I don't think I've looked that attractive
in a long time...
Idk.
yeahhhhh....
Well, maybe I got a lot creative. It seemed to look okay though....

So, with the panel now done, I inserted it after the sleeves in; and here's what it looked like:

On my clone.
 Isn't the turquoise-blue gorgeous????

On me and my late 1860's corset XD
I don't have a 1910's corset yet, so I'm improving with the one I do have. Since this is only for the top of the gown, I figured there wouldn't be much of a difference in size or shape.

Next step....TUCKING!

Final Project: 19-teens "Ophelia" Gown Bodice

I'm taking a Specialty Sewing Techniques course, which consists of different couture techniques and finishing methods. This is what I'm making for the final project:


For the project, we have to use at least 4 techniques we have learned in class and apply them to a blouse/shirt type garment. My techniques will be tucking, piping, beading, ruching and hem treatments. I'm going to make the gown in two pieces for now and put the two pieces together to complete the gown... just at a later date.


The turquoise silk cost me a mere 5 bucks for 6.5 yards!
Discounted Drapes. BOOYAAH!
 It's a vest type garment in a powdery turquoise silk with attached sleeves in a nice creme chiffon and ruching in net at the bust. There will be a copious amount of delicate tucking as trim in the blue silk and in the belt part. I'm also planning to have a beaded motif on the sleeves and overlay for the skirt. Look at the the beads I got! They go so prettily with it.


The colors are a little more muted in real life.

I was initially inspired by the actress Miss Lily Elsie. Her gowns and pictures are phenomenal. 

She has Rachel Weisz' profile.
Sigh

How perfect, right?

My second inspiration was the idea of Ophelia. Whenever I think of Ophelia (from Hamlet) I think of water lilies and consequently Lily Elsie.
I don't really care about the title, just the design.
It's so pretty!!!
The project has to be sent to Santa Fe, NM by June 3rd... leaving me 2 weeks to get it finished. Luckily, I only have to send in the bodice :D No sweat!


Lawn Dress

It's long past due for a new post. My Red Dress is fitted, now only the sleeves need put on. The Regency Bodiced Petticoat only needs buttons. The Darth Maul Amigurumi hasn't been picked up yet. I haven't even thought about my quilt. But, I can post about an old dress I bought a while back at an antique store.

The dress is called a Lawn Dress. I have pondered the reasons why it would be called such; wearing it for garden parties (on the lawn. harhar), the fabric being called lawn, or some other crazy reason that no one would ever have thought of? Well, I've never really found a good explanation, and don't know enough about  fabrics to say if it is in fact lawn or not.

Regardless of my prattle, I'm sure you want to see some pictures, right? Yes, you do!!!! So, here is the ca. 1910 Lawn Dress snatched for $60 at an antique store.

Disclaimer: Yes, that is me wearing the dress, 3 years ago, the day it was bought. At the time, I had never read anything about human oils deteriorating antique fabric. I was very careful and only wore it for about 15 minutes.

These are the only two photos of the entire dress
stupid look on my face.. I know
torqued off Amber? Maybe.
The dress has a lot of rips and tears. It used to have a lot of stains, but my mom read up and found a way to clean antique fabrics without damaging them. It worked like a charm.
The details are much better seen in Black and White
CrAzY picture of my face

the back of the dress is pretty too!

and this is a cool pic of the sky I happened to take that day

So, yeeeah. There's a new post !!!!!!!!